Development
How to use React Native Foreground Service v2@
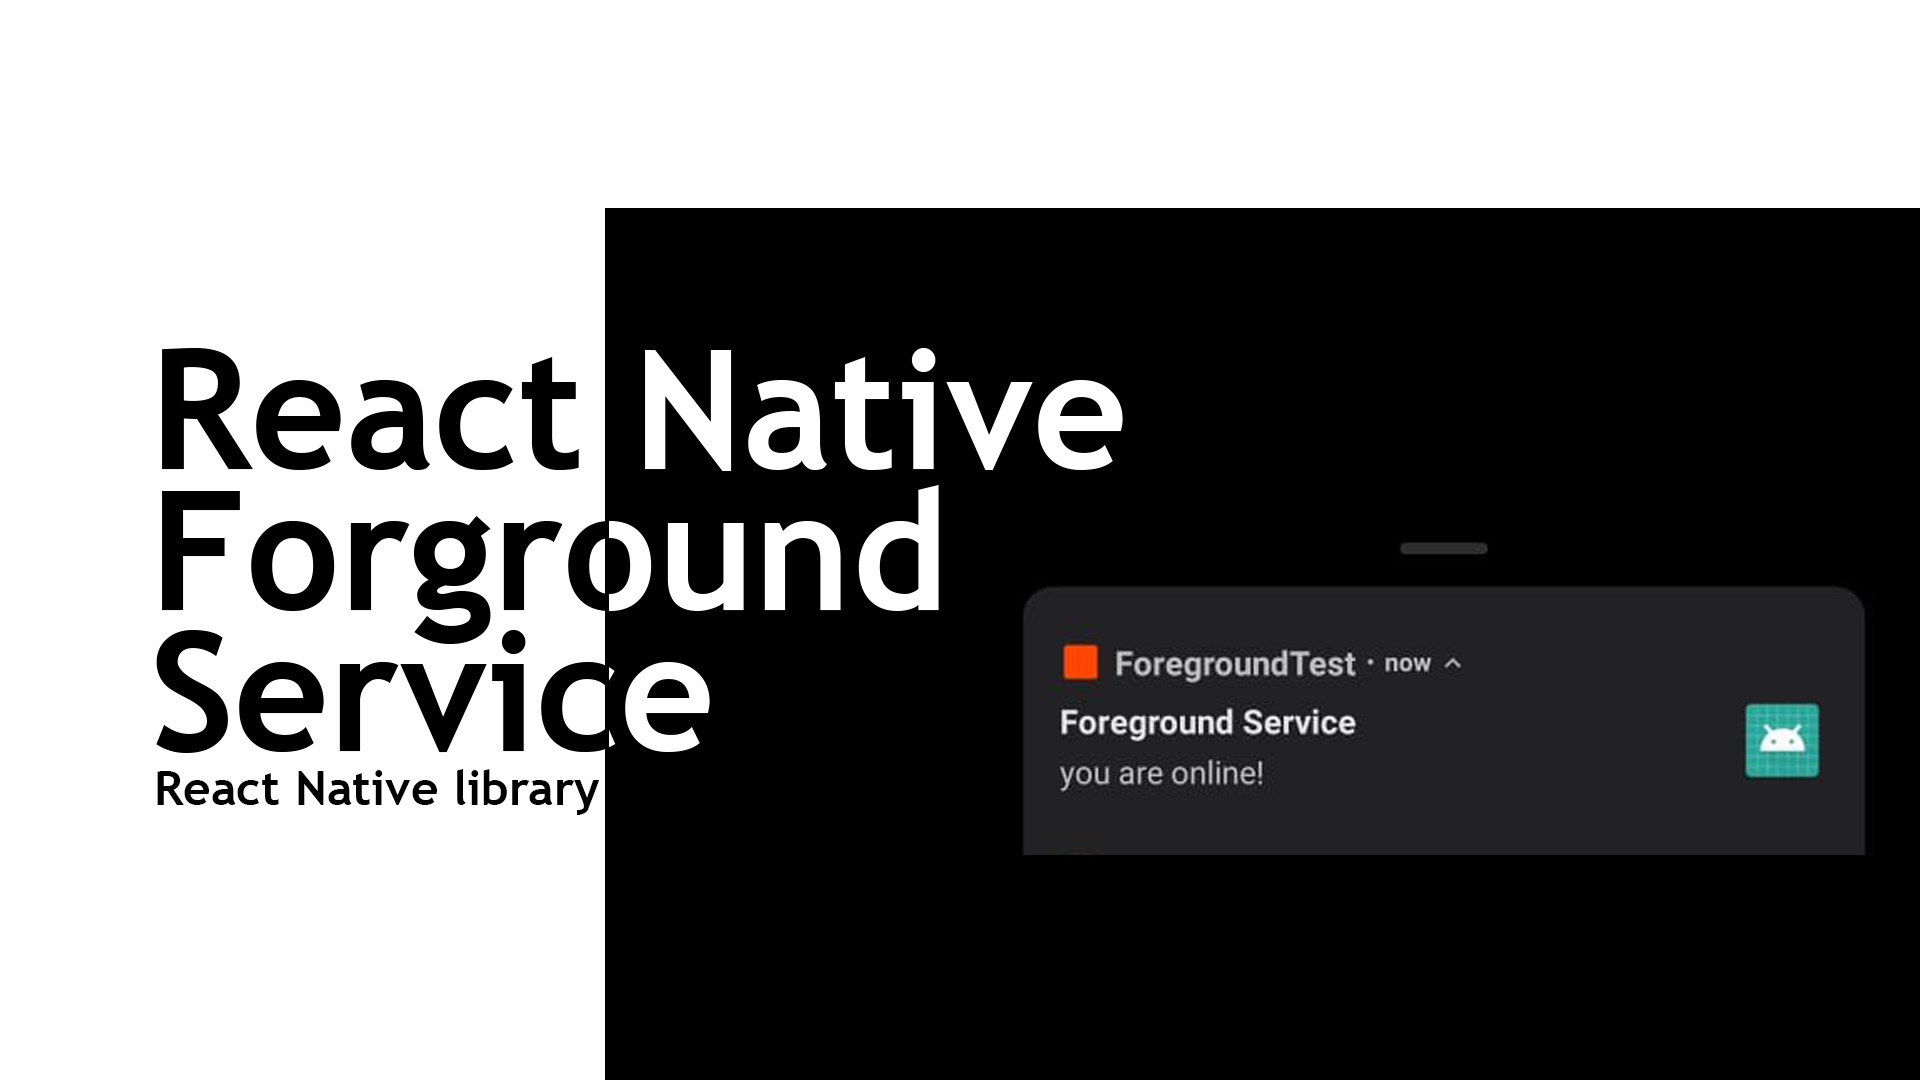
Forground service that you can use to create an always on Background task in React Native. Foreground service is a kind of service in Android that has a notification that can not be removed until the foreground service is closed, and because of this, you can run a background task with the help of headless JS.

Raja Osama
I Describe Myself as a Polyglot ~ Tech Agnostic ~ Rockstar Software Engineer. I Specialise in Javascript-based tech stack to create fascinating applications.
I am also open for freelance work, and in-case you want to hire me, you can contact me at rajaosama.me@gmail.com or contact@rajaosama.me